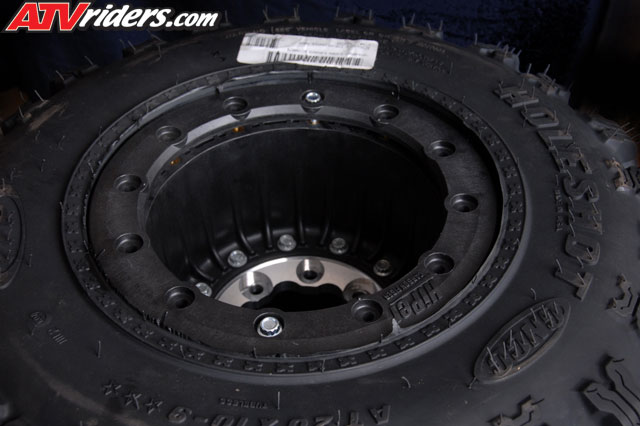
Starting at 12 o’clock, work your way
around the beadlock in an alternating pattern
(12-6 1-7 11-5 etc) until you have seated the
beadlock firmly onto the rim. I “snug”
them on the first pass and then take them down
to the recommended torque of 96-132 inch pounds
in the same alternating pattern. Keeping the
pattern even will help from buckling the ring
and causing you issues related to sealing the
tire to the rim. Once both sides are completed,
all that remains if the seating of the bead.
Hiper recommends no more then 25 psi (+/- 5psi)
be used to seat the tire. Common sense as always
should be employed to avoid damaging yourself
and your prized rims!
| |
|
A
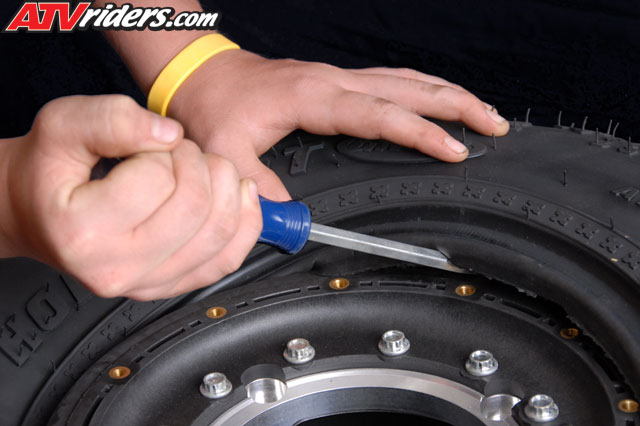
Screwdriver or Tire Spoon will aid in
slipping your tire over the rim (left)
then it's time to mount the first beadlock
ring (right)
|
| |
|
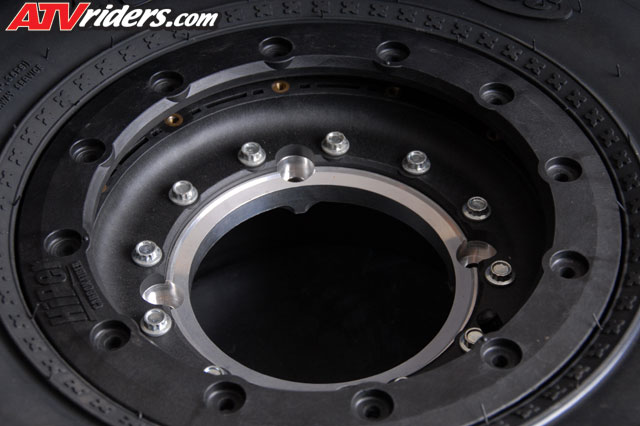
Start
using two of the supplied bolts, one
at the 12 o'clock position, and another
at the 6 o'clock position to hold the
ring in place (left) then at 12 o'clock,
start working your way around the beadlock
in an alternating pattern until the
beadlock is firmly seated onto the rim
(right)
|
That’s about as easy as it comes when
you’re talking mounting rims, just a few
tools and a few minutes of your time and you
will be installing your new Hipers on your machine.
For us, Hipers just make sense in a racing environment
as it takes away one more thing we need to concern
ourselves with as we pound what ever the track
throws our way. The added styling and good looks
only enhances our machines appearance with optional
colored rings available to set your machine
apart from the crowd.
About HiPer Technology:
HiPer
Technology, Inc is a Kansas company specializing
in carbon fiber products utilizing a proprietary
injection molding process. HiPer is the industry
leader in ATV and Micro Sprint car wheels. HiPer
Technology has grown to be a technology leader
in materials, design, and product function since
its founding in 2000.